 ultimate-guide
Structural Retaining Wall Construction Methods: 2026 Guide
Table of Contents
- How Retaining Walls Resist Soil Pressure
- Types of Retaining Walls and How They Work
- Matching Structural Retaining Wall Construction Methods to Site Conditions
- Retaining Wall Footing Requirements
- Retaining Wall Construction Steps From Excavation to Backfill
- Retaining Wall Drainage Methods That Prevent Failure
- Permits, Engineering Thresholds, and Quality Control
- Conclusion
- Frequently Asked Questions
Last Updated: October 21, 2026
How Retaining Walls Resist Soil Pressure
Structural retaining wall construction begins with understanding the forces at work. Retained soil pushes outward with lateral earth pressure, and the wall must resist that load through mass, reinforcement, or a combination of both.
The pressure isn't uniform. It increases with depth, and saturated soil adds hydrostatic pressure on top of the soil load. Surcharge loads from driveways, slopes above the wall, or structures behind it push harder still.
Types of Retaining Walls and How They Work
The main types of retaining walls fall into two families: rigid walls that resist pressure with mass or structural bending, and flexible walls that work with the soil through reinforcement. Choosing between them is the first real decision in any project.
Gravity Walls
A gravity wall holds back soil through its own weight. The mass of concrete, masonry, or stacked block resists the lateral earth pressure, relying on a wide base and solid bearing capacity beneath the footing. These walls are simple to build and durable, but they get expensive fast as height increases because the base must widen proportionally. Gravity walls suit shorter walls and sites with good, stable soil.
Cantilever and Reinforced Soil Walls
A cantilever wall uses a cast-in-place concrete stem and a wide footing that extends into the retained soil. The weight of the soil sitting on that footing helps counteract the pressure pushing from behind, so the wall resists overturning without needing the bulk of a gravity wall. Reinforced soil walls take a different approach: layers of geogrid reinforcement are compacted into the backfill, tying the soil mass together so it behaves as a single stable block, with segmental block facing on the front. These methods handle taller walls and tighter footprints well.
Matching Structural Retaining Wall Construction Methods to Site Conditions
Method selection should follow the site, not the other way around. A common mistake is choosing a wall type before anyone has looked at the soil, the slope, and the drainage.
Here's how we think through it:
| Site Condition | Recommended Method | Why |
|---|---|---|
| Low wall, firm soil, ample space | Gravity wall | Mass-based stability, simple build |
| Taller wall, limited footprint | Cantilever wall | Footing soil weight resists overturning |
| Poor soil, taller wall, tight access | Reinforced soil wall | Geogrid distributes load through backfill |
| High water table or poor drainage | Any method with engineered drainage | Hydrostatic pressure must be relieved |
Soil type drives everything. Expansive clay behaves differently from sandy loam or rock, and bearing capacity determines footing size. A site with a high water table needs drainage designed in from the start, not added after the wall starts leaning.
Retaining Wall Footing Requirements
The footing is where the wall's stability is won or lost. Footing requirements depend on wall height, soil bearing capacity, and the loads the wall carries.
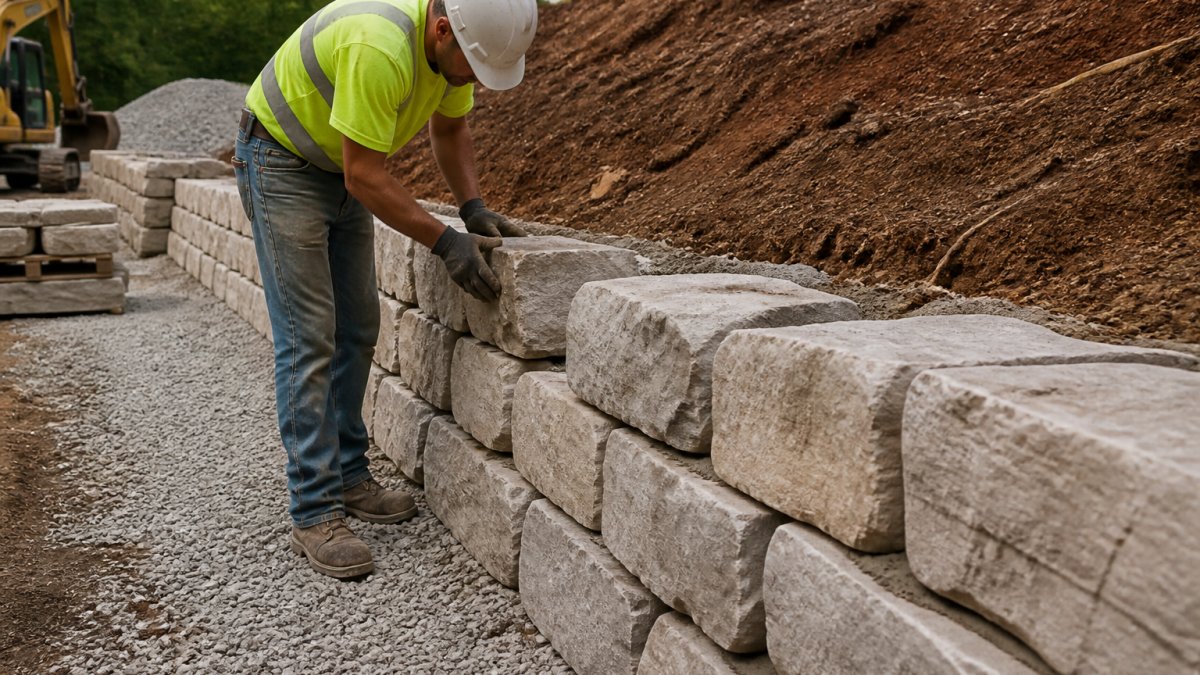
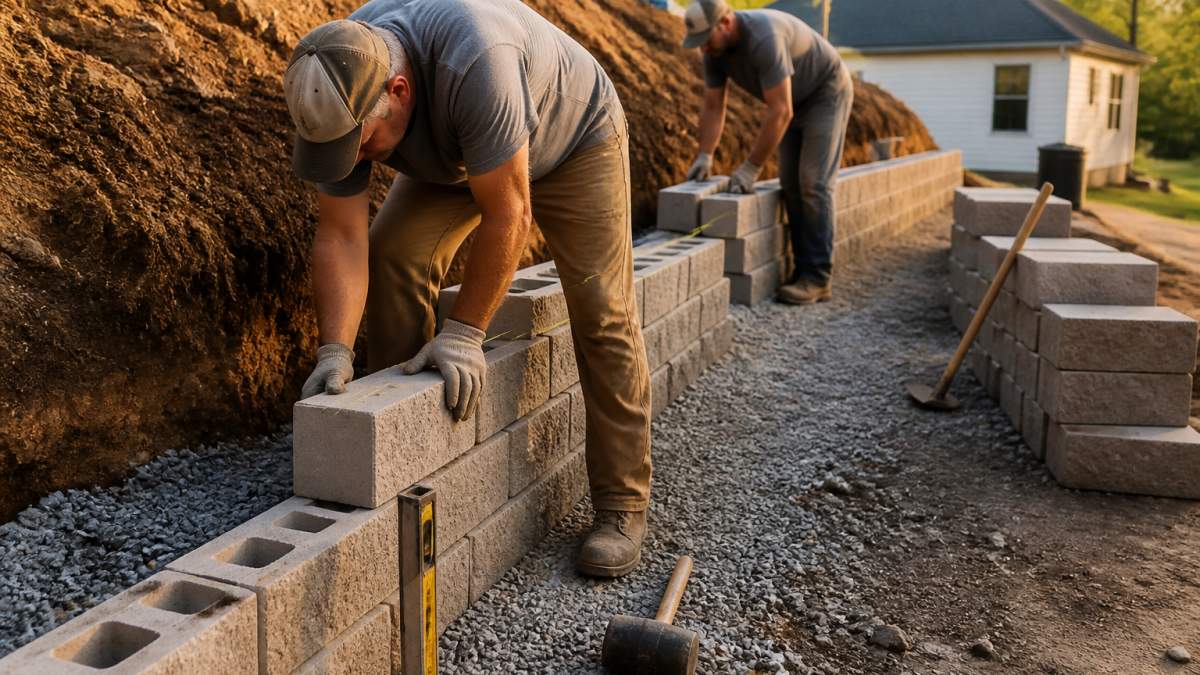
A typical footing must be wide enough to spread the wall's weight across stable soil, deep enough to sit below frost depth where that applies, and set on compacted, level ground. The base course for a block wall needs a compacted gravel layer, generally several inches deep, leveled and tamped before the first block goes down.
Never skip compaction. A footing bed that isn't compacted will settle unevenly, and uneven settlement cracks the wall above it.
Retaining Wall Construction Steps From Excavation to Backfill
The retaining wall construction steps follow a sequence, and each one depends on the last. Rushing the early stages is how walls fail later. What most step lists leave out is the quality-control checkpoint that belongs at the end of each stage, the point where work gets inspected before it is buried and can no longer be corrected cheaply.
- Excavate the trench to the footing depth, keeping the excavation stable and clear of loose soil. Bench or shore the cut where the soil will not stand on its own, and keep spoils back from the trench edge so the weight does not surcharge the excavation. Checkpoint: confirm the bearing surface is undisturbed native soil, not fill, organic topsoil, or debris. Have the engineer or inspector sign off on bearing before anything is placed.
- Prepare the base by compacting the subgrade and adding a level gravel layer. For a block wall, the base course is typically a compacted, well-graded gravel several inches deep, leveled and tamped before the first block goes down. Checkpoint: verify level along the entire run and confirm compaction with a density test where the specification requires it.
- Set the footing or first course, checking level and alignment with a laser level or transit. For cantilever walls, the reinforced concrete footing is poured to the engineer's specification with the stem doweled in. Checkpoint: confirm footing dimensions, reinforcement size, spacing, and cover match the drawings, and verify the dowels are set before the pour.
- Build the wall, staggering joints and interlocking blocks so courses tie together. Keep courses level and plumb, and check alignment at every course rather than at the end. Checkpoint: verify geogrid, if used, is installed at the correct elevation, spacing, and orientation, and is tensioned and anchored into the facing per the design.
- Install drainage aggregate and perforated pipe behind the wall as you backfill. The drainage system goes in with the wall, not after it. Checkpoint: confirm the pipe slope, outlet location, filter fabric placement, and that weep holes are clear before the drainage zone is covered.
- Backfill in lifts, compacting each layer before adding the next. Lifts are typically a few inches at a time, and each lift is compacted before the next is placed. Checkpoint: confirm lift thickness, moisture condition, and compaction results against the specification, and verify the backfill material matches the design.
- Cap and finish the wall, then check the finished grade drains away from the wall. Checkpoint: walk the wall for alignment, cap security, and positive surface drainage before demobilizing.
Retaining Wall Drainage Methods That Prevent Failure
Drainage is the difference between a wall that lasts decades and one that leans within a few years.
Effective retaining wall drainage methods combine four elements:
- A drainage layer behind the wall. A zone of free-draining aggregate, typically washed, well-graded gravel, sits between the wall and the retained soil. It gives water a path down to the collector instead of letting it perch against the wall. The aggregate must be graded so it will not migrate into the surrounding soil, or a filter fabric must be used to keep fines out.
- A perforated collector pipe at the base. A perforated pipe, often wrapped in filter fabric or set in a gravel envelope, runs along the base of the wall and carries collected water to an outlet. The pipe needs a positive slope to the outlet, flat pipe is a clogged pipe.
- Filter fabric and gradation control. A filter fabric between the aggregate and the soil keeps fines from washing into and clogging the drainage zone. Where fabric is not used, the aggregate gradation must be designed to act as a filter against the adjacent soil. Clogged drainage is the most common reason a system that looked correct on paper stops working.
- Weep holes and outlets. Weep holes through the wall face give water an escape route, and the collector pipe must discharge to a daylight outlet, storm system, or splash block that carries water away from the wall. An outlet that discharges at the wall base just re-saturates the footing.
Surface grading above the wall matters as much as what is behind it.
If drainage is compromised, the wall will show it: bulging, cracking, or tilting toward the street, often after a wet season. For more on the standards behind these systems, drainage and erosion control guidance covers how water management protects structures.
Permits, Engineering Thresholds, and Quality Control
Many jurisdictions require a permit and stamped engineering for retaining walls above a certain height or where the wall supports a surcharge load. Height thresholds vary by code, so check with your local building department before breaking ground.
Quality control during construction matters as much as design. Inspect the footing before it's buried, confirm compaction with a density test where required, verify geogrid is installed at the correct spacing and tension, and check alignment at every course. Document the work with photos, and keep the engineer's drawings on site.
Conclusion
A retaining wall that holds back soil on a slope is only as good as its footing, its drainage, and the care taken during construction. The method you choose should follow the site and soil conditions, not the other way around.
If you're planning a retaining wall, patio, or structural masonry repair in the Jackson area, Solid Rock Brick brings 16 years of experience to stone work, brick work, and concrete installations, from residential walls to commercial projects. Contact us to talk through your project and get a clear plan for building it right.
Frequently Asked Questions
What is the 1/3 rule for retaining walls?
The 1/3 rule sets the minimum burial depth for a wall's base: the footing or first course should sit below grade by at least one-third of the exposed wall height. A 3-foot wall, for example, needs about 1 foot buried. This depth resists sliding and overturning and keeps the base below the frost line in colder states. Local codes may require more, so confirm the figure during permitting.
What are the four main types of retaining walls in construction?
Most structural retaining wall construction falls into four groups: gravity walls, which rely on their own mass; cantilever walls, where a stem and footing act as a unit; reinforced soil walls using geogrid and segmental blocks; and anchored or piling systems for tight sites. Gravity and cantilever designs dominate residential work, while reinforced soil and anchored systems handle taller or load-restricted sites.
Does a 2-foot retaining wall need a footing?
A 2-foot wall often sits below the height where engineered footings are mandated, but it still needs a properly compacted, level base of at least 6 inches of compacted gravel. Skipping base preparation causes settling, leaning, and joint separation within a season or two. Check local building department rules, since some jurisdictions require footings for any wall that holds back soil.
How does drainage affect retaining wall stability?
Water is the leading cause of wall failure. Saturated backfill adds hydrostatic pressure that can double the lateral load on a wall. Drainage methods such as perforated pipe at the base, washed gravel backfill, and filter fabric relieve that pressure before it builds. A wall with poor drainage may show bulging, cracked mortar, or tilting within a few wet seasons.
When does a retaining wall need structural engineering?
Many jurisdictions require a stamped design once a wall exceeds 4 feet in height, and nearly all require it above 6 feet or when the wall supports a surcharge load such as a driveway or building. Walls on steep slopes, in poor soil, or holding back significant grade changes also warrant an engineer's review. Confirm the threshold with the local building department before construction starts.
What are the most common mistakes when installing retaining wall blocks?
The recurring errors are inadequate base compaction, missing drainage aggregate and perforated pipe, failing to stagger joints between courses, and backfilling with clay-heavy soil that traps water. Another frequent mistake is underestimating wall height and skipping geogrid reinforcement. Each of these shortens wall life and can void manufacturer warranties on segmental block systems.