 how-to
Residential Concrete Driveway Repair Tips That Last
Table of Contents
- Diagnose the Damage Before You Buy a Single Bag of Mix
- Tools, Safety Gear, and Materials You Need First
- Concrete Driveway Crack Repair: Clean, Fill, and Seal
- Concrete Driveway Edge Repair for Chipped and Broken Borders
- Leveling Sunken and Offset Slabs With Mud Jacking or Poly Jacking
- Concrete Driveway Resurfacing: When a New Top Layer Makes Sense
- Repair or Replace Concrete Driveway: How to Decide
- Curing Times, Weather Windows, and Drainage Fixes That Prevent Repeat Damage
- Frequently Asked Questions
Last Updated: October 19, 2026
Diagnose the Damage Before You Buy a Single Bag of Mix
Residential concrete driveway repair tips start with one rule: diagnose before you buy. A hairline crack and a sunken slab need completely different fixes, and the wrong material wastes money.
Concrete is strong in compression but weak in tension, so most failures start at edges, joints, and low spots where water collects.
Match the Repair to the Crack Width and Severity
Crack width is the single best guide to repair method. Measure the gap with a tape or a coin.
| Damage | Size or Symptom | Repair Method | DIY or Pro |
|---|---|---|---|
| Hairline crack | Under 1/8 inch wide | Crack filler or sealant | DIY |
| Medium crack | 1/8 to 1/2 inch | Sand-filled crack filler | DIY |
| Wide crack | Over 1/2 inch | Concrete patch, possibly routing | DIY to pro |
| Chipped edge | Broken border, loose pieces | Edge patch with bonding agent | DIY |
| Sunken slab | Drop of 1 inch or more | Mud jacking or poly jacking | Pro |
| Offset slab | One slab higher than neighbor | Slab leveling or grinding | Pro |
Measure at the widest point; a crack narrow at the surface but wide underneath needs more than filler.
Tools, Safety Gear, and Materials You Need First
Gather everything before you start. A repair that dries mid-job leaves a weak bond.
Safety gear:
- Safety glasses and nitrile gloves
- Dust mask for cutting and grinding
- Knee pads for long sessions
Tools:
- Wire brush and stiff broom
- Caulk gun or filler applicator
- Cold chisel and hammer
Materials:
- Concrete crack filler or sealant
- Silica sand or fine sand for deep cracks
- Concrete patch for chips and holes
Match the filler to the crack: polyurethane sealant flexes with the slab, while epoxy is rigid and cracks if the slab moves.
Concrete Driveway Crack Repair: Clean, Fill, and Seal
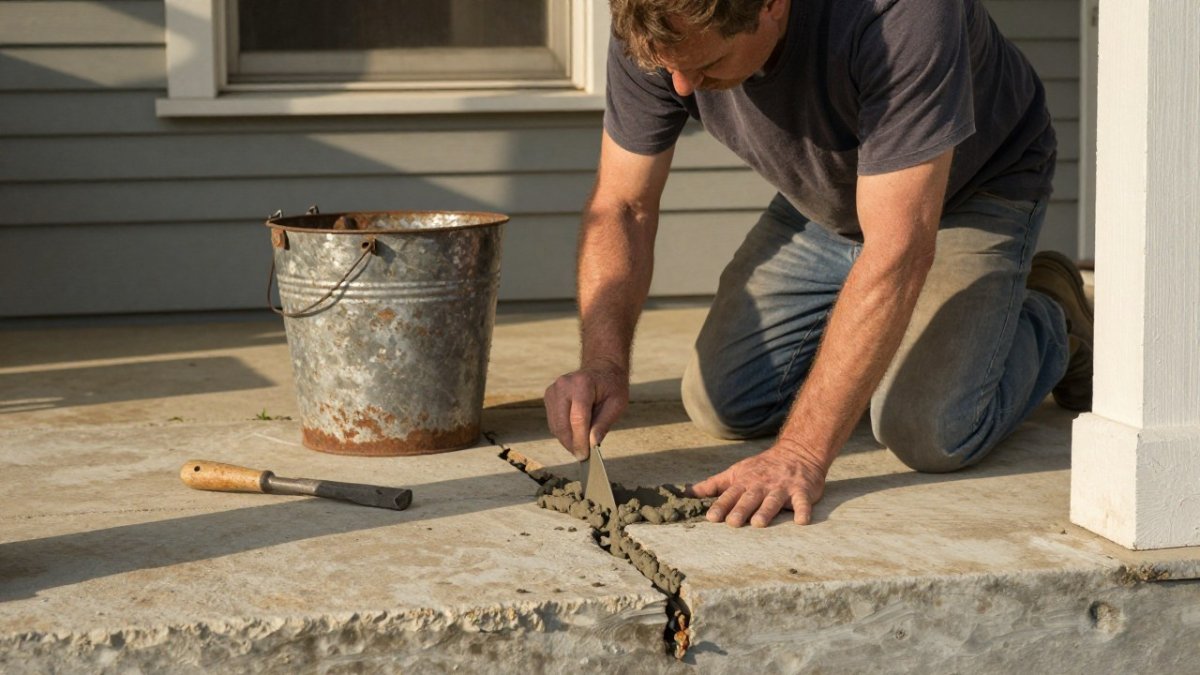
Concrete driveway crack repair fails most often from poor cleaning and the wrong filler. Filler won't bond to dirt, algae, or loose concrete, and a rigid filler in a moving crack cracks again within a season.
Pick the filler before you pick up a tool
Three product families cover most residential cracks:
- Polyurethane sealant stays flexible after cure and moves with the slab. It's right for joint cracks, cracks that reopen seasonally, and any crack where you suspect slab movement. Most formulations can be painted after cure.
- Epoxy is rigid and bonds aggressively to clean concrete. It's strong in stable cracks, but it transfers stress to surrounding concrete and can crack alongside the repair if the slab shifts.
- Pourable self-leveling filler flows into narrow gaps and sets firm. It works on flat driveways and hairline-to-medium cracks, but runs on slopes and won't bridge a moving gap.
Contractors use flexible sealant at joints and perimeter cracks, and rigid patch only where concrete is sound and the crack stable. If unsure, flexible is the safer default in freeze-thaw climates.
Clean, prep, and confirm the crack is dry
Filler bonds to a clean, sound, dry surface. Skipping these steps is the most common reason a repair pops out.
- Remove loose material. Wire-brush and chisel out crumbling concrete and old filler, widening the top so new material has a shoulder.
- Wash it out. A hose or pressure washer clears dust and algae; keep the nozzle moving so you don't gouge the concrete.
- Let it dry completely. Plan on at least 24 hours in good weather; filler over damp concrete traps moisture and loses bond.
- Check the depth. Probe with a nail or stiff wire; a crack narrow on top but wide underneath needs backer rod.
- Confirm the slab isn't moving. Lay a straightedge across the crack. If one side sits higher, address the movement first (see slab leveling below).
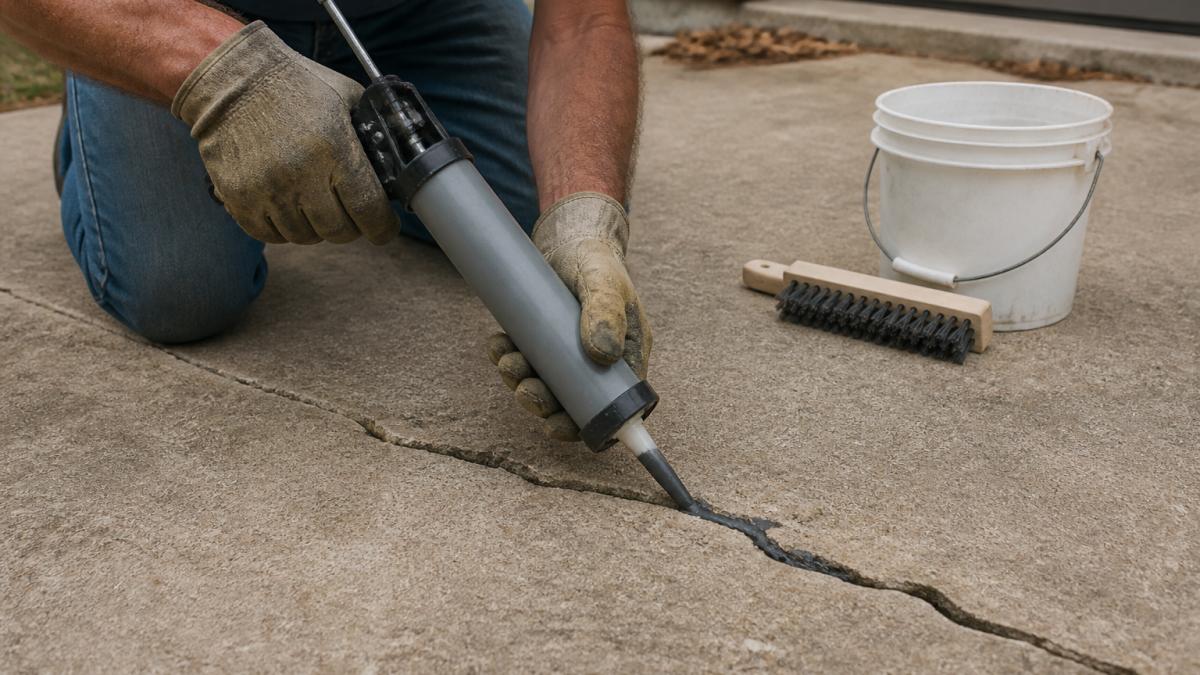
Fill hairline and medium cracks
For cracks under 1/2 inch, a pourable or self-leveling filler is usually fastest.
- Pour silica sand into deep cracks first, leaving about 1/4 inch of depth for filler.
- Apply filler with a caulk gun or pour spout, working from one end to the other.
- Overfill slightly, then smooth with a putty knife.
- Wipe excess before it sets; once cured, it's much harder to remove.
Self-leveling filler works best on flat driveways; on slopes, use a thicker sealant so it doesn't run out.
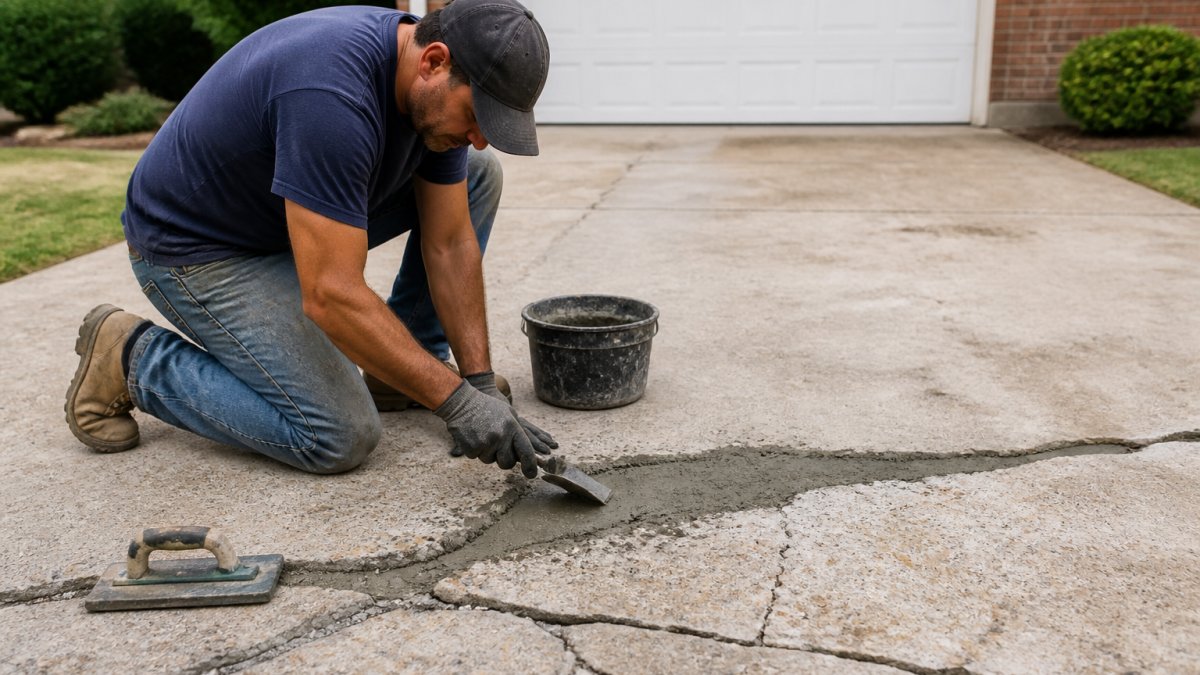
Handle wide cracks and deep damage
Cracks over 1/2 inch need more than filler: use backer rod at the bottom, then apply concrete patch in layers.
- Rout the crack with a chisel or grinder to create a clean, wider channel with sound sides.
- Pack backer rod into the gap so patch has a base and doesn't fall through.
- Apply patch in 1/4 inch layers, letting each set before the next.
If the crack keeps reopening after a proper repair, the slab is moving, call a pro rather than refill it a third time.
Curing and traffic timing
Curing time depends on product, temperature, and humidity, so read the label. As a guide:
- Foot traffic: most patching products accept light foot traffic within a few hours to overnight.
- Vehicle traffic: plan on 24 hours minimum for most fillers and patches, longer in cool or damp weather.
- Full cure: several days is typical before the repair reaches full strength.
Apply between 50°F and 80°F, avoid rain within 24 hours, and shade the repair on hot days so it doesn't dry too fast and crack.
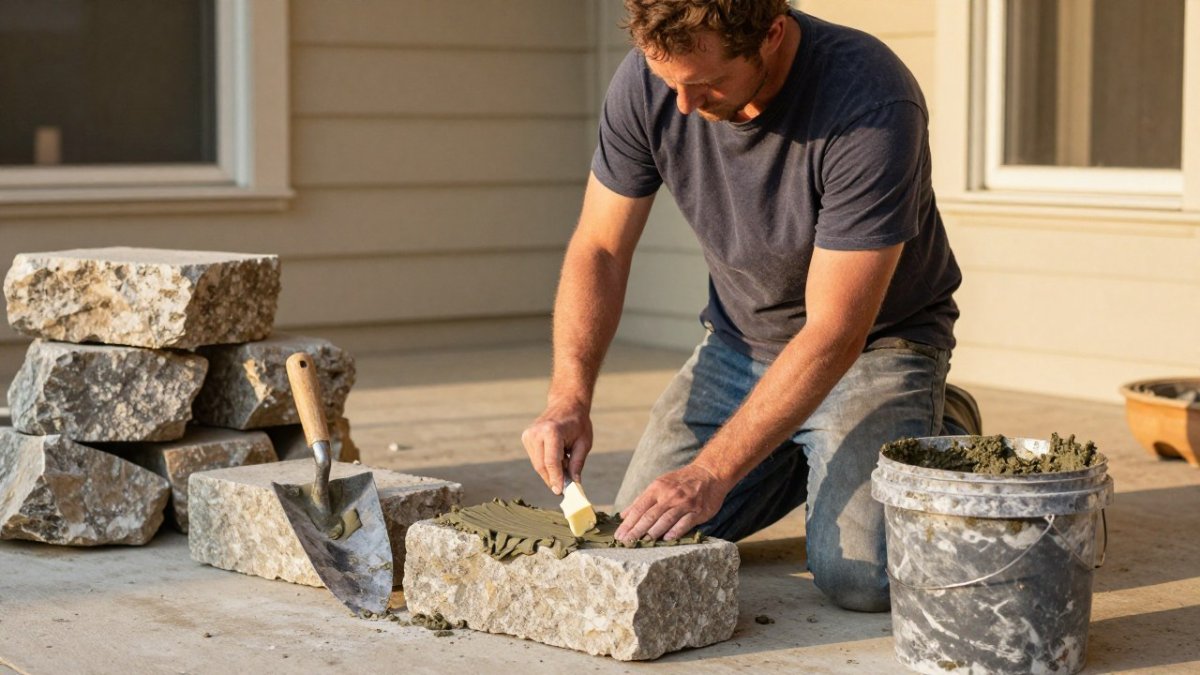
Concrete Driveway Edge Repair for Chipped and Broken Borders
Concrete driveway edge repair protects the weakest part of the slab. Edges break because they carry weight with no support underneath.
Fix chipped edges in five steps:
- Break away all loose concrete with a chisel
- Clean the exposed area with a wire brush
- Apply a bonding agent to the old surface
- Pack concrete patch into the void
- Shape the edge with a trowel and cover with plastic to cure
For long runs of broken edge, build a small wooden form to hold the patch shape. Remove the form after 24 hours.
Leveling Sunken and Offset Slabs With Mud Jacking or Poly Jacking
Sunken slabs need lifting, not patching. Mud jacking and poly jacking both raise a slab by pumping material underneath.
Poly jacking injects expanding polyurethane foam; it's lighter, cures fast, and doesn't add much weight to soft soil.
Both fill voids underneath the slab where washed-out soil leaves concrete unsupported, stopping further settlement.
| Method | Material | Best For | Curing |
|---|---|---|---|
| Mud jacking | Sand-cement slurry | Large settled areas | 24 hours |
| Poly jacking | Expanding foam | Fast turnaround, soft soil | Under 1 hour |
Offset slabs, where one sits higher than its neighbor, may need grinding at the joint after lifting.
Concrete Driveway Resurfacing: When a New Top Layer Makes Sense
Concrete driveway resurfacing adds a thin new layer over the old surface.
Resurfacing works when:
- The slab has no major structural cracks
- The surface isn't crumbling or scaling
- Drainage is already correct
It fails when the slab is moving; a new top layer over a shifting slab cracks within a year.
Surface prep decides the outcome: pressure wash, etch, apply a bonding primer, then trowel or spray the resurfacer at the specified thickness.
Resurfacing costs less than replacement and takes a day or two, but it won't fix structural problems.
Repair or Replace Concrete Driveway: How to Decide
The repair or replace concrete driveway question comes down to three checks: structural soundness, extent of damage, and age. Most homeowners can decide by walking the slab, measuring the damage, and comparing repair cost against remaining life.
Run the three checks
1. Structural soundness. Tap the surface with a hammer; a hollow sound suggests a void or delamination underneath. If several areas sound hollow, the slab is losing its base and patching won't hold.
2. Extent of damage. Damage confined to a few cracks or one chipped edge is usually a repair.
3. Age and history. A driveway patched three times in the same area is telling you the base is failing; repeated repairs in one spot almost always mean the subbase or drainage is the real problem.
Repair if:
- Cracks are narrow and stable, with no vertical offset across the crack.
- The slab is level and doesn't rock or sound hollow when tapped.
- Damage covers less than a quarter of the surface.
Replace if:
- Multiple wide cracks cross the slab, or cracks have reopened after proper repair.
- Sections are sunken, heaved, or offset at the joints.
- The concrete is crumbling throughout or scaling across large areas.
Compare cost against remaining life
Cost is the tiebreaker, and the right comparison isn't repair price versus replacement price in isolation, but cost per year of remaining service life.
- Crack filling and sealing is the lowest-cost option and best treated as maintenance. It buys time and slows water intrusion, but doesn't fix a moving slab.
- Patching and edge repair costs more than filling but far less than replacement, and suits localized damage on a stable slab.
- Resurfacing sits in the middle: it restores appearance and covers fine cracks, but only on a sound, level slab with correct drainage.
A repair costing a fraction of replacement is worth it if it buys several more years, but not if the slab is near the end of its life. Ask a contractor for both numbers and the expected lifespan of each.
What to ask a contractor
Before you commit, get answers to these questions in writing:
- What's causing the damage, and will the proposed repair address the cause or only the symptom?
- How long should this repair last given the slab's age and condition?
- What's the cost of repair versus replacement, and what's the expected service life of each?
Curing Times, Weather Windows, and Drainage Fixes That Prevent Repeat Damage
Curing time and weather decide whether a repair lasts. Most fillers and patches need 24 hours before traffic and several days before full cure; check the label.
Weather rules:
- Apply in temperatures between 50°F and 80°F
- Avoid rain within 24 hours of application
- Keep out of direct sun on hot days, since fast drying causes cracking
Drainage is the root cause most homeowners skip: water flowing under concrete washes out soil and causes settlement. Fix it by:
- Grading soil away from the slab edges
- Clearing gutters and downspouts
- Adding a swale or French drain where water pools
Sealing protects against freeze-thaw damage and slows crack growth. Clean first, then apply a concrete sealant with a roller or sprayer.
A driveway repair that fails twice costs more than one done right the first time. Solid Rock Brick brings 16 years of masonry and concrete experience to residential and commercial properties, with stone work, brick work, and concrete installations built to last.
Frequently Asked Questions
What cement should I use for driveway repair?
For most residential driveway fixes, a polymer-modified concrete patching compound holds better than plain cement mix because it bonds to old concrete and resists shrinking. Use sand-mix concrete for patches deeper than about 2 inches, and a pourable crack filler or concrete sealant for narrow cracks under 1/2 inch. Check the label for driveways and freeze-thaw exposure. Avoid pure Portland cement alone, since it dries brittle and cracks again quickly.
How do I fix chipped concrete driveway edges?
Clean the chipped area with a wire brush and rinse away loose debris, then let it dry. Apply a concrete bonding agent to the exposed surface. Build the edge back with a stiff polymer-modified patch mix, packing it against a temporary form board so it holds a straight line. Smooth the top with a trowel, cover it with plastic for a day, and keep traffic off it for at least 24 to 48 hours.
How can I tell whether a concrete driveway should be repaired or replaced?
Repair usually makes sense when damage is surface-level: cracks under 1/2 inch, chipped edges, or one or two sunken slabs. Replacement is the better call when cracks are widespread, slabs are badly crumbled, or the driveway has failed in multiple spots at once. A driveway under about 25 years old with isolated damage is generally a repair candidate. Get an on-site assessment if you are unsure.
Can I repair a concrete driveway myself?
Yes for small jobs: hairline cracks, chipped edges, and single-slab patching are realistic DIY work with materials from a hardware store. Leave slab leveling through mud jacking or poly jacking to a professional, since it requires specialized pumps and an understanding of what is happening under the slab. If water is flowing under the concrete or voids have opened up, call a contractor before the problem spreads to the foundation.