 how-to
Fixing Cracked Concrete Steps Safely: 7 Steps to Follow
Quick Summary
Fixing cracked concrete steps safely starts with deciding whether the damage is cosmetic or structural. Surface cracks and chipped edges on a firm step can be patched with a repair compound after loose concrete is removed. If the step moves, sinks, or the crack keeps widening, a patch will not hold and a professional should evaluate it.
- Hairline cracks that stay the same width usually come from curing shrinkage or thermal movement.
- A step that tilts, sinks, or pulls away from the landing signals structural movement, not a patching job.
- Wear a fitted NIOSH-approved respirator, since dust from chipping and mixing contains crystalline silica.
- Chip out all loose concrete, undercut the edges, and brush on a bonding agent before patching.
- Keep the patch damp and shaded for at least 24 to 48 hours, and avoid heavy foot traffic until it firms up.
Table of Contents
- Assess the Damage: Crack, Chip, or Structural Movement?
- Safety Gear and Precautions Before You Start
- Prepare the Surface: Remove Loose and Unsound Concrete
- Choose the Right Concrete Step Repair Kit and Patch Material
- How to Repair Cement Steps Outside, Step by Step
- Repairing Precast Concrete Steps Differently
- Curing Time, Return to Use, and Preventing Future Cracks, with Repair Cost Notes
- Frequently Asked Questions
Fixing cracked concrete steps safely starts with knowing what you are dealing with. A hairline crack, a chipped nosing, and a step that has sunk or shifted each call for a different fix, and treating a structural problem as cosmetic can make it worse.
Concrete step repair is often less expensive than replacement, though costs depend on the size of the damage, access, and materials. For a current quote on your steps, contact Solid Rock Brick directly.
Assess the Damage: Crack, Chip, or Structural Movement?
The first job is to decide what kind of damage you have, because the fix depends on the cause. The U.S. Bureau of Reclamation's concrete repair guide describes repair and maintenance as a seven-step process, and the first step is always evaluation: find out what is wrong before choosing materials (U.S. Bureau of Reclamation Guide to Concrete Repair). Repair guidance also separates minor surface damage from deeper deterioration, with different methods suggested for each.
Surface damage: what it looks like and why it happens
Surface damage usually falls into one of these patterns:
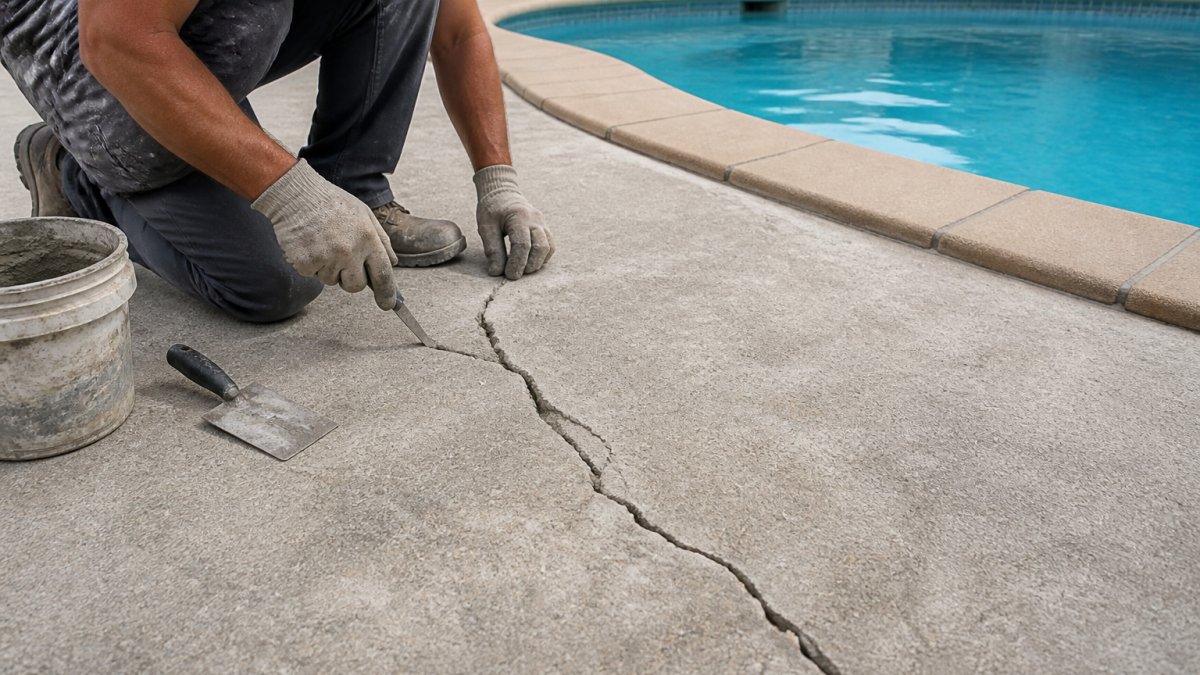
- Hairline cracks that do not change width over time. These often come from plastic shrinkage as the concrete cured, or from normal thermal movement.
- Chipped or flaking edges on the nosing. The nosing is the most exposed part of the step and takes the most impact from foot traffic and dropped objects.
- Worn, pitted treads where the surface has scaled. Scaling is often caused by de-icing salts, freeze-thaw cycles, or a finishing error during the original pour.
These are cosmetic or near-surface problems. A patch, applied to sound concrete, can handle them.
Structural movement: warning signs that patching will not fix
Structural movement looks different. A step that has dropped or tilted relative to the one below is usually sitting on soil that has settled, eroded, or was never compacted properly.
Watch for these specific signs:
- A step that has dropped or tilted relative to the one below
- A crack that is wider at one end or keeps growing over weeks or months
- A gap opening between the step and the wall or landing
If you see any of the structural signs, a patch will not hold. Foam injection or replacement addresses sinking, while patching compounds only handle minor cracks, according to AquaBond's repair guidance.
A decision rule for repair versus replacement
Use this rough rule of thumb:
- If the crack is stable, the step is firm underfoot, and the damage is at the surface or edge, repair is appropriate.
- If the step moves, has dropped, has separated from the landing, or the crack is actively widening, do not patch. Have a professional evaluate the base and the step. Repair may still be possible with foam injection or underpinning, but it is not a DIY patching job.
- If the step is more than a few decades old and shows widespread cracking, scaling, and movement, replacement may be more cost-effective than repeated patches.
When in doubt, have a professional look before you spend money on materials. A short evaluation is cheaper than a patch that fails and has to be redone.
Safety Gear and Precautions Before You Start
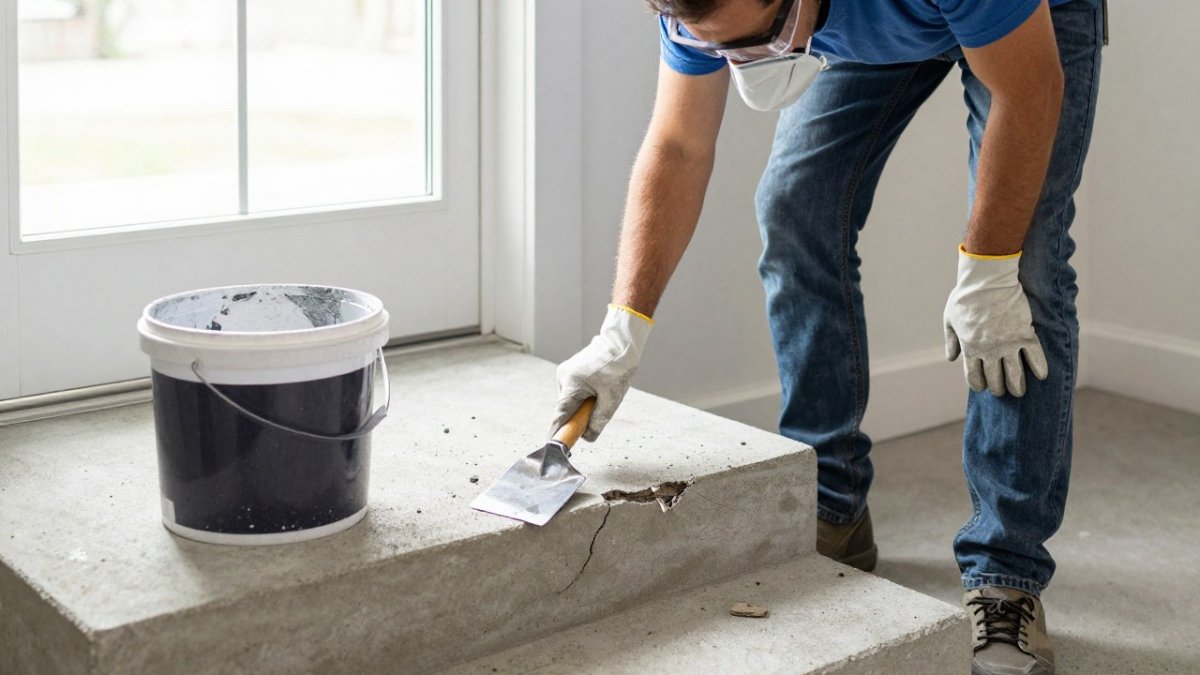
Safety is the part of step repair most guides skip. Concrete repair exposes you to three distinct hazards: respirable crystalline silica from cutting, chipping, and mixing; chemical burns from wet cement; and falls from working on an unstable or unguarded step. Each has a different control.
Silica dust and respiratory protection
Portland cement and the sand in repair mortars contain crystalline silica. Dry sweeping, chipping with a cold chisel, and mixing bagged material all release fine dust that can scar lung tissue over repeated exposure. NIOSH and OSHA treat respirable crystalline silica as a known health hazard, and OSHA's construction silica standard (29 CFR 1926.1153) sets exposure limits. For a homeowner doing a one-time patch, the practical controls are:
- Wear a NIOSH-approved N95 or P100 respirator, fitted so it seals against the face. A loose dust mask does not filter fine silica.
- Mist the area with water before chipping or sweeping to keep dust down. A pump sprayer works well.
- Mix bagged mortar in a well-ventilated area, ideally outdoors, and pour the powder slowly into the water rather than dumping it.
A paper or cloth mask offers almost no protection against silica. If the mask does not seal, it is not doing the job.
Cement burns and skin and eye protection
Wet cement is alkaline, with a pH around 12 to 13, and prolonged contact causes chemical burns that may not hurt until damage is done. The same alkalinity damages eyes. Before you open the bag:
- Wear waterproof gloves, not cloth or leather. Nitrile or rubber gloves keep the alkaline slurry off your skin.
- Wear safety glasses or goggles, especially when mixing and when troweling overhead or at eye level.
- Wear long sleeves and long pants, and wash any cement off your skin promptly with clean water.
Fall and stability hazards
Concrete steps are a fall hazard before you add tools and wet material. A step that is tilting, has a loose nosing, or lacks a handrail can shift under your weight. Before you kneel on a step:
- Test the step by pressing down firmly on the tread and the nosing. If it moves, stop and address the instability first.
- Do not work on a step that has separated from the landing or is visibly sinking. That is a structural problem, not a patching job.
- Keep the work area clear of tools and cords, and do not stack material on the step you are repairing.
Weather and working conditions
Temperature and moisture affect both safety and the repair. Most repair mortars specify a minimum and maximum application temperature on the label, commonly around 40°F to 90°F, and cold slows the set and can leave a weak patch. Heavy rain within the first 24 hours can wash out fresh material. Check the forecast for the next 24 to 48 hours before you mix.
A short pre-start checklist
- NIOSH-approved respirator, fitted
- Safety glasses or goggles
- Waterproof gloves
None of this is complicated, but skipping it is how a small repair turns into a clinic visit. Put the gear on before you open the bag.
Prepare the Surface: Remove Loose and Unsound Concrete
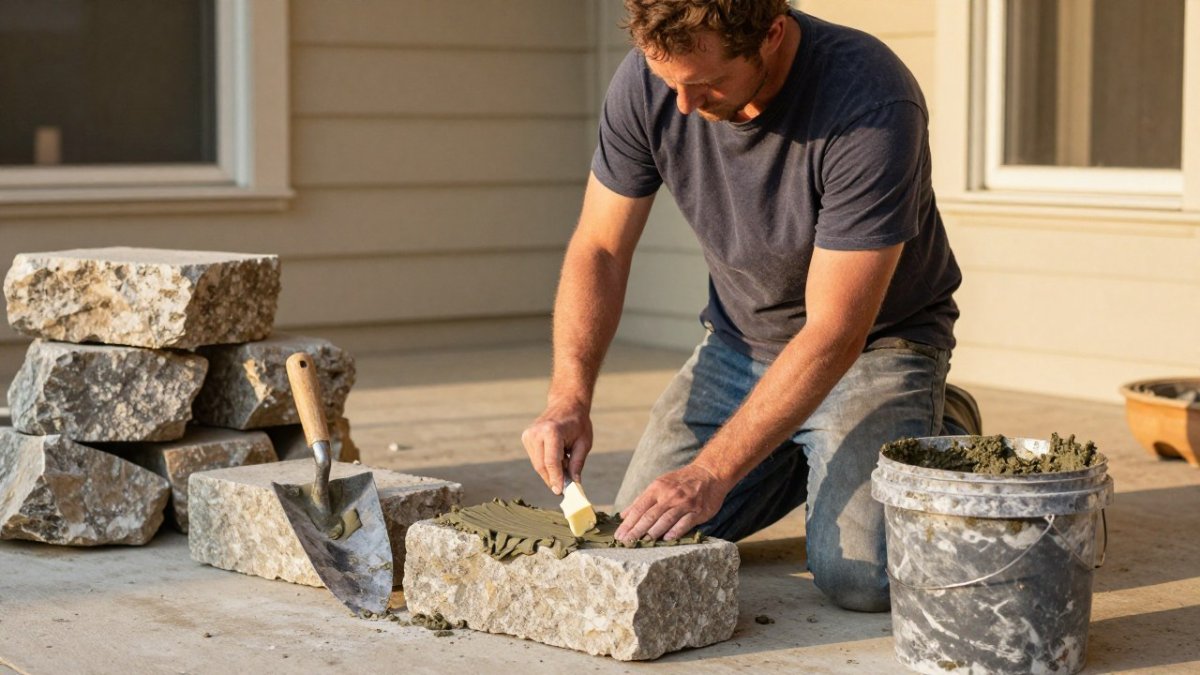
A patch bonds only to sound concrete. Any loose, crumbling, or powdery material has to come out first, or the new repair will pop off within a season.
- Tap the damaged area with a hammer. Solid concrete rings; loose concrete sounds hollow.
- Chip out all loose pieces with a cold chisel and hammer, working back to firm material.
- Undercut the edges slightly so the patch locks in rather than sitting on top.
- Wire brush the area to remove dust and debris.
- Rinse with clean water and let the surface dry until damp but without standing water.
The bond is what keeps a repair in place, so take the time here. A bonding agent or cement slurry brushed onto the cleaned surface helps the new material grip the old.
Choose the Right Concrete Step Repair Kit and Patch Material
Pick the material by the size and type of damage. A concrete step repair kit usually includes a patching compound, and some add an acrylic fortifier that improves flexibility and bond.
Use these rough guidelines:
| Damage Type | Suggested Material | Best For |
|---|---|---|
| Hairline crack | Patching compound | Surface cracks that are not growing |
| Chipped nosing | Repair mortar | Edges and corners |
| Worn tread | Resurfacing mortar | Shallow, widespread wear |
| Deep hole | Repair mortar in layers | Larger missing sections |
| Sinking or movement | Professional evaluation | Structural problems |
Quick-setting cement is useful when you need to use the step the same day, but it leaves less working time. Standard patching compounds give you more time to shape the repair.
Mix only as much repair material as you can use within its working time.
How to Repair Cement Steps Outside, Step by Step
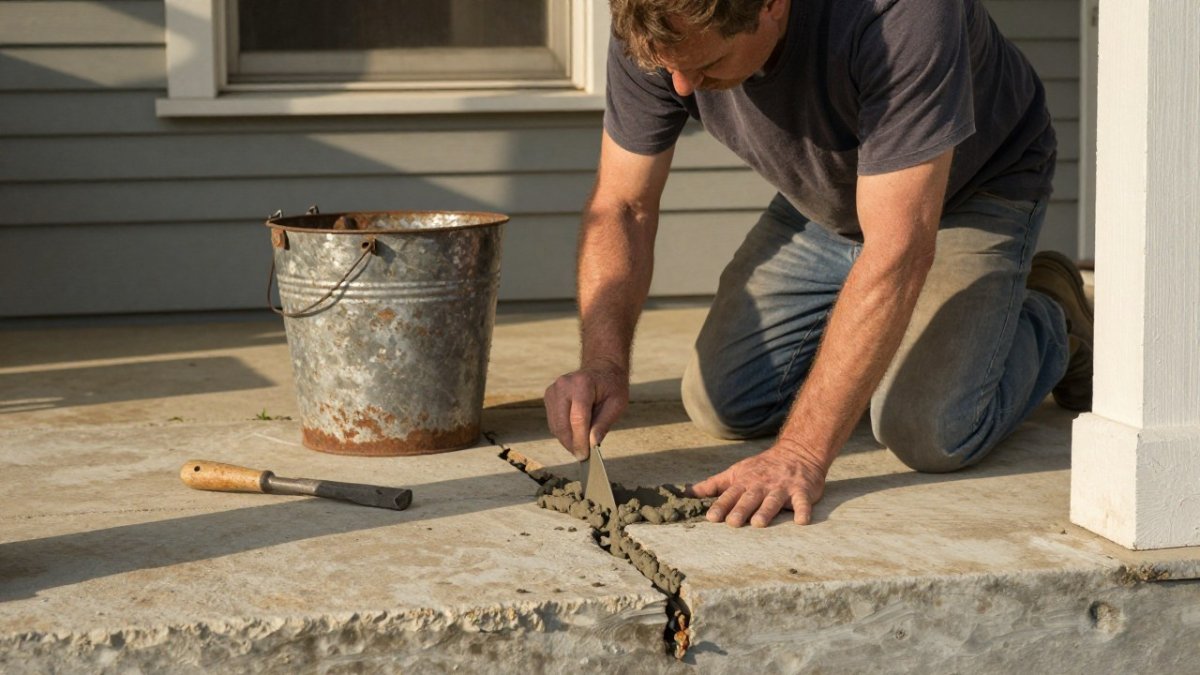
Once the surface is prepared and the material is chosen, the repair itself follows a clear sequence. Work on one section at a time so the patch does not dry before you shape it.
- Mix the repair material to a thick, workable consistency that holds its shape on the trowel.
- Brush the bonding agent onto the prepared area, or wet the surface and apply a thin cement slurry.
- Press the material into cracks and edges, working bottom up to remove air pockets.
- Build the repair slightly above the surrounding surface, since the material shrinks as it dries.
- Shape the tread and nosing with a trowel to match the step's slope and edge.
- Smooth with a damp sponge or float, then wait for it to firm up before final finishing.
- Once firm, lightly sand high spots and edge the corners to match the original profile.
Keep the repaired area damp for the first day by misting it lightly. This slows surface drying and helps the material reach full strength.
Repairing Precast Concrete Steps Differently
Precast concrete steps are made in a plant and set into place, so the repair approach differs from poured-in-place steps.
For surface chips and small cracks on a precast step, the same cleaning and bonding steps apply. For anything larger, or a step that has shifted off its base, replacement or professional repair is usually safer.
A local masonry contractor can tell you whether a repair or replacement makes more sense for your unit.
Curing Time, Return to Use, and Preventing Future Cracks, with Repair Cost Notes
Curing is the stage most DIY repairs skip. Keep the patch damp and shaded for at least 24 to 48 hours, and avoid heavy foot traffic until it has firmed up.
Prevention matters more than the repair itself. Cracks often come back for the same reasons:
- Water: Fix gutters and grade the soil so water drains away from the steps.
- Freeze-thaw cycles: Water that gets into cracks expands when it freezes. Seal small cracks before winter.
- Settling: Check the base and compacted soil under the steps every season.
Long-term inspection is simple. Look at the steps twice a year, after winter and before the rainy season, and note any new cracks or movement.
DIY materials for a small patch are usually modest, while professional repair costs more and depends on size and access.
Frequently Asked Questions
My concrete steps are cracked. How can I fix them?
Start by determining whether the cracks are cosmetic or signs of structural movement. Small hairline cracks and chipped edges can usually be patched with a repair mortar or patching compound after the loose material is removed and the surface is cleaned. Deeper cracks, steps that sink or shift, or cracks that keep returning point to a problem with the base or drainage, and those situations are worth having a professional inspect before you apply any patch. Wear eye protection and gloves whenever you are chiselling or mixing material.
Can you fix cracked concrete without replacing it?
In many cases, yes. Surface cracks, chipped nosings, and small areas of spalling can be repaired with a patching compound or resurfacing mortar, and the existing step stays in place. Replacement becomes more sensible when the step has moved, when large sections are crumbling, or when a patch would cover most of the tread. Repair costs and patch durability depend on how much sound concrete remains, so a quick assessment of the step's condition should guide the decision.
How long should concrete step repair material cure before use?
Cure times vary by product, so always follow the manufacturer's instructions on the bag or data sheet. Many quick-setting repair products can take foot traffic within a few hours, while larger patches with mortar typically need several days before they are fully loaded. Keep the patch damp during the early curing period when the product directs you to, and protect it from rain, freezing temperatures, and hot direct sun, since these conditions can weaken the repair.
Can you repair precast concrete steps?
Yes, precast steps can often be repaired, but the approach depends on how the unit was made and whether it is sitting on a stable base. Chipped edges and surface cracks respond well to a bonding agent followed by a compatible patch material. If a precast step has shifted or is cracking through its full thickness, the base, the step's bearing, or the unit itself may need attention, and replacement may be the more reliable option.